Recording Workflows
This guide explains how teams typically use the XY Browser Agent to record a task, save it as a workflow, label it for later filtering, and review and share it afterward.
What recording is best for
Recording is a strong fit when:
- a task happens in a browser portal
- the task follows a predictable path
- people are currently doing the same clicks and entries over and over
- the system does not offer a practical native integration
The basic recording flow
1. Start with a clean task
Pick one task with a clear start and finish, such as:
- checking a claim or referral status
- entering information from a document
- downloading a report
- uploading a file into a portal
2. Start recording
Open the Browser Agent and click Start Recording. Before the recording begins, you'll choose which streams to capture and grant any permissions Chrome asks for.
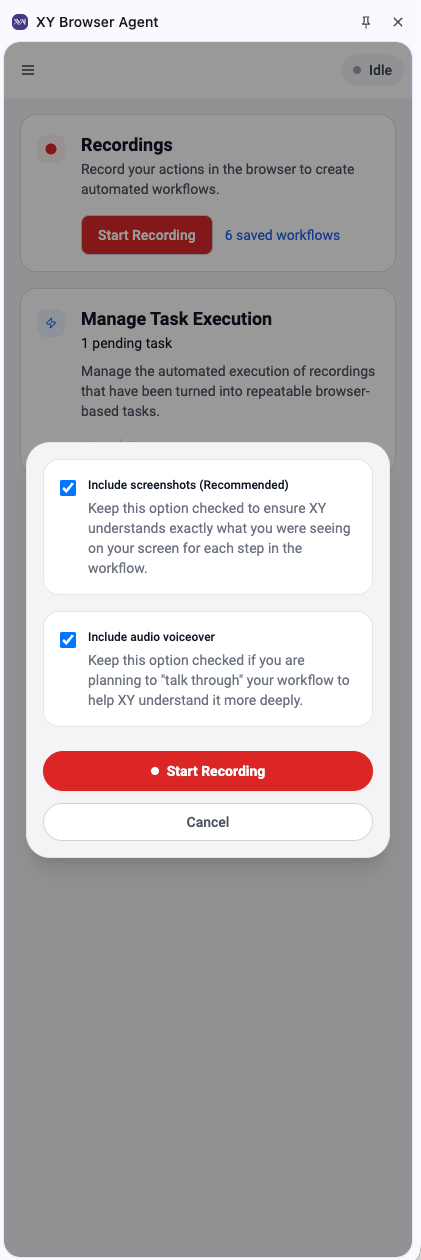 Choose which streams to capture before recording starts.
The first time you record with audio or screen capture enabled, Chrome will prompt for the necessary permissions and ask you to choose a tab, window, or screen to share. These choices are remembered for future recordings.
See Multimodal recording options below for what each stream captures and when to leave each one on.
3. Perform the task normally
Work through the task the same way you would if you were doing it manually.
Good recordings are:
- deliberate
- consistent
- easy to understand later
Each action you take is captured as a step and shown in the side panel as you go, so you can see exactly what is being recorded in real time.
4. Stop, label, and save
When the task is complete, click Stop. The Recording Complete! dialog appears and asks for two things:
- Recording Name — a clear, team-friendly name for the workflow.
- Labels (optional) — one or more chips you can use to group related recordings and filter them later in the XY Web App.
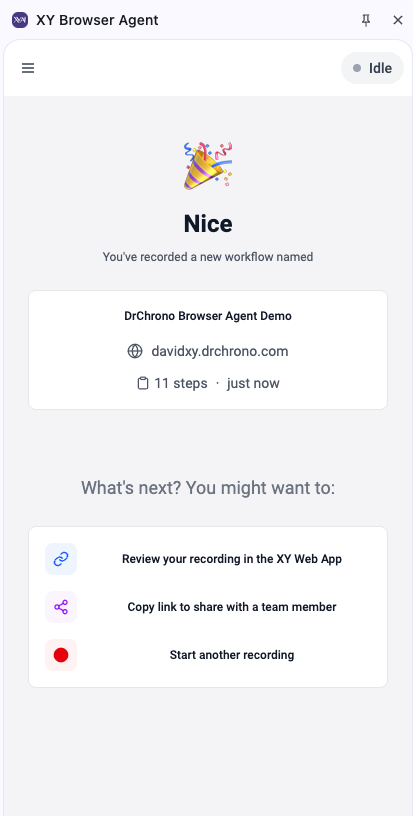 Name the recording and optionally add one or more labels before saving.
Click Save to keep the recording, or Discard to throw it away.
For label conventions and what you can do with them later, see Labeling and filtering recordings.
Multimodal recording options
The XY Browser Agent can capture more than just browser steps. When you start a recording, you can toggle each of these data streams on or off:
- Video / screenshots — visual capture of what was on screen during each step. Helpful for review and for refining the workflow later.
- Audio — voice narration recorded from your microphone. Useful when you want to explain edge cases or reasoning while you work.
- Browser code — DOM-level details about the page structure and the elements you interacted with. Improves the reliability of automated playback.
In most environments, leaving all three on gives the richest context. Disable audio if you're somewhere noisy or are recording without narration.
The first time you record with a given stream enabled, Chrome will ask for the matching permission (microphone, screen sharing). Selecting Always allow for a site means future recordings won't re-prompt.
Labeling and filtering recordings
Labels are short, free-form strings attached to a recording. Teams use them to group related recordings and filter the full list down quickly — for example, by department, portal, customer, or workflow type. Labels are stored on the recording itself, so they show up wherever the recording is referenced.
Setting labels in the Browser Agent (at save time)
When you stop a recording, the Recording Complete! dialog includes a Labels field directly below Recording Name:
- Type a label and press Enter to add it as a chip.
- Repeat to add more labels — there's no fixed limit on how many a recording can have.
- Backspace in an empty input removes the most recent chip; click × on a chip to remove a specific one.
- Labels are capped at 64 characters each. Duplicates (case-insensitive) are ignored.
- The helper text under the field reads "Group related recordings with labels."
Labels you add here are saved with the recording and immediately appear in the org-wide label catalog the Web App uses for filtering.
Setting and editing labels in the Web App
Labels can also be added, edited, or removed after the fact from the Recorded Workflows tab in the XY Web App.
- Open Workflows → Recorded Workflows.
- To edit one recording, click the pencil icon on its row. The Edit labels dialog appears with a chip input — press Enter to add each label, click × to remove one.
- To edit multiple recordings at once, select rows using the checkboxes and use the Add labels or Remove labels bulk action that appears.
Editing is available to organization admins and to the user who recorded the workflow.
Filtering by label
Above the Recorded Workflows table, you'll see a row of pill chips: All, followed by one chip for each distinct label in your organization.
- Click a chip to filter the list to recordings that carry that label.
- Click additional chips to broaden the result — multi-select uses OR semantics, so a recording matches if it has any of the selected labels.
- Click All at any time to clear the label filter.
The label filter combines with the search bar and the website filter, so you can stack them — for example, "Recordings labeled eligibility on availity.com containing aetna."
What happens after you save
After saving, the workflow can be reviewed in the Browser Agent and, depending on the experience your organization uses, in the XY Web App as well.
This is where teams usually:
- replay the workflow
- review the recorded steps
- check whether any cleanup is needed
- decide whether to make the workflow more reusable
Accessing and sharing recordings
Saved recordings are available in two places: the Browser Agent (for the user who recorded them) and the XY Web App (for the broader team, subject to org permissions).
Reviewing in the XY Web App
In the Web App, open Workflows → Recorded Workflows to see the org's recordings. From there you can:
- play back a recording and step through what was captured
- view the labels attached to each recording and filter as described above
- open a recording to inspect individual steps and their browser-level details
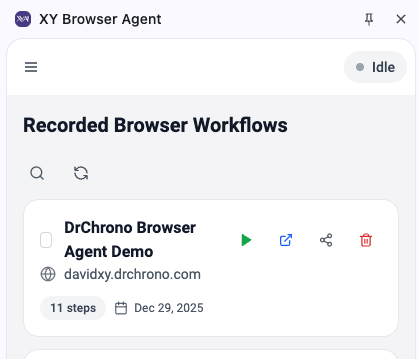 The Recorded Workflows tab lists every recording in your organization.
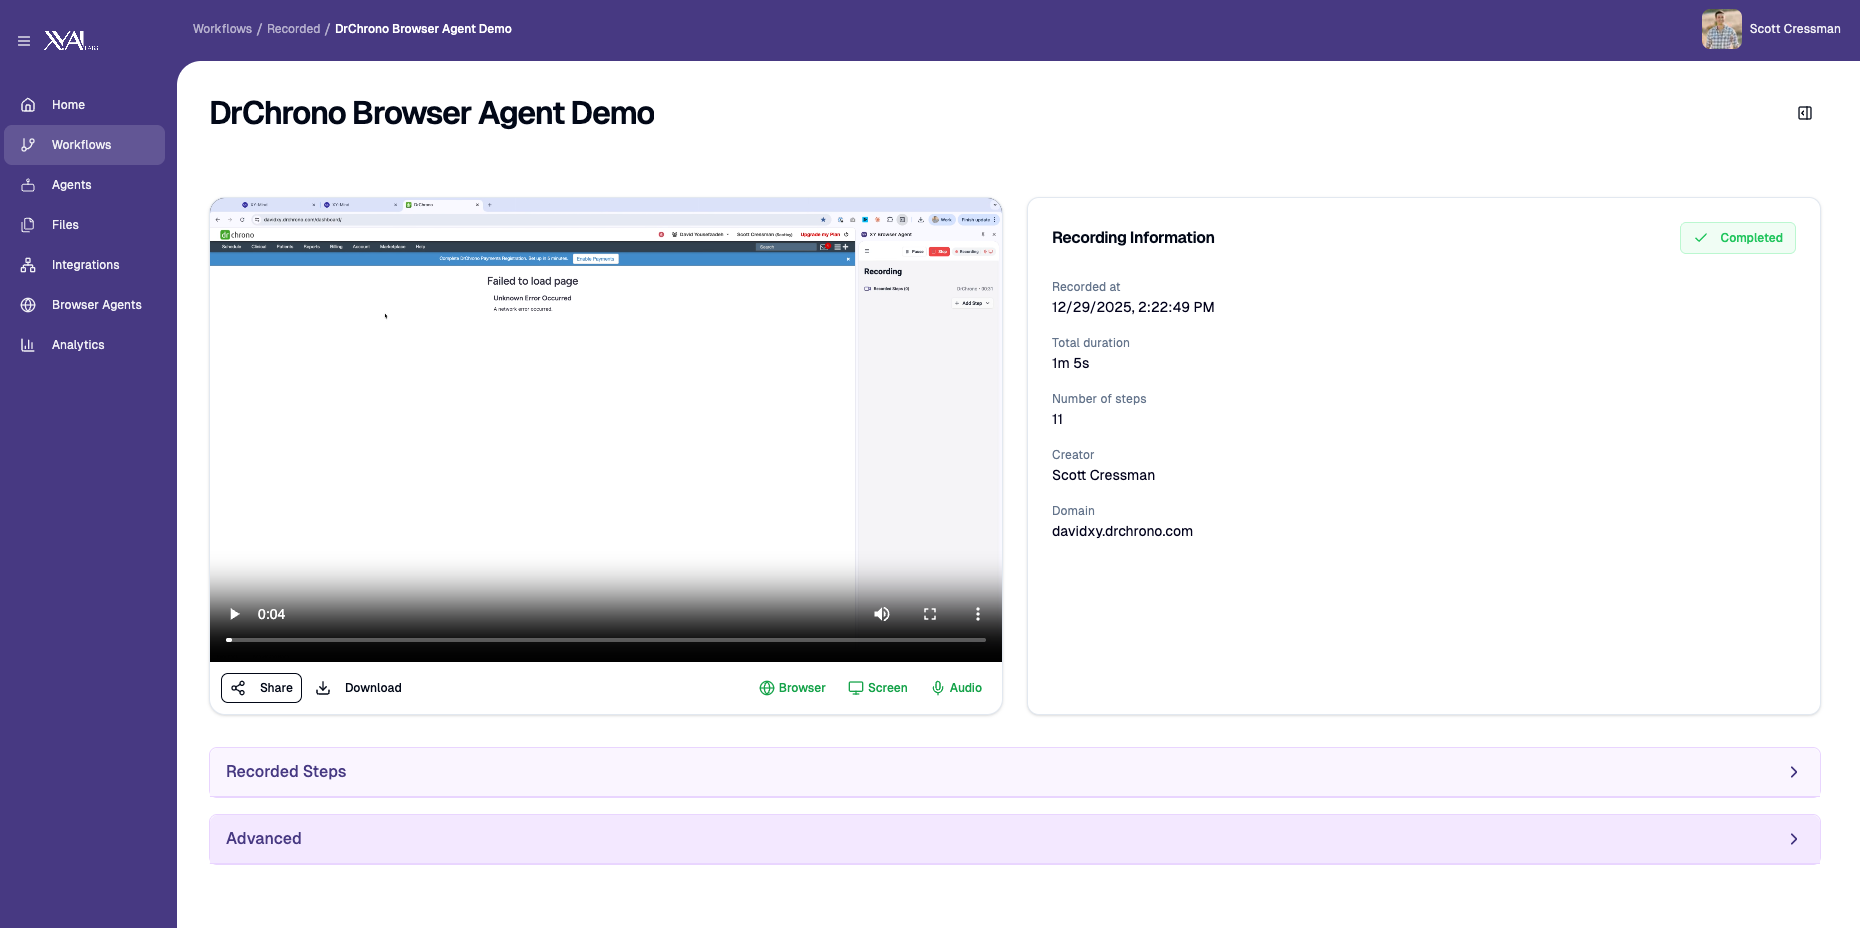 Open a recording to review steps and play back the capture.
Sharing a recording
Once a recording is in the Web App, you can share it with teammates or with XY support:
- From the Browser Agent's Recording Complete! screen, choose Copy link to share with a team member to copy a direct link to the recording in the Web App.
- From the Web App, copy the recording's URL from the address bar and paste it into Slack, email, or any other channel.
Common reasons to share a recording:
- show a teammate how a process is currently done
- send XY support a faithful capture when something needs troubleshooting
- collect a set of representative recordings to seed a future workflow
Managing executions
The Browser Agent also surfaces the executions kicked off from a recording, so you can keep tabs on what's running.
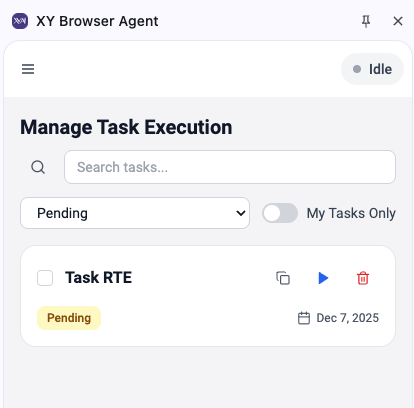 Monitor active task executions and review past runs from the Browser Agent.
Reviewing the recording
When you review a saved workflow, look for:
- unnecessary clicks or navigation
- steps that depend on one exact value
- places where a variable would make the workflow more reusable
- spots where a person may still need to review the result
Recording tips
Keep the first version simple
It is better to capture one short workflow cleanly than to over-record a long and messy one.
Use realistic but safe data
Record with data that reflects the real process while still being appropriate for testing and validation.
Name workflows clearly
A good name should tell a teammate what the workflow does and when to use it.
Use labels consistently
A small, shared vocabulary of labels (for example, by portal, department, or customer) makes the Recorded Workflows list much easier to navigate as it grows.
Replay early
Run the workflow soon after recording so you can catch issues while the steps are still fresh in mind.
Where recording fits in the bigger workflow story
A recorded browser workflow is often just one part of a broader automation. Teams commonly combine it with:
- files from
Files - connected systems from
Integrations - agent-driven steps inside a larger XY workflow